Lady Que's Big Blog of Wibbly Wobbly Timey Wimey Stuff.

Just a little corner of the net where I can hide away and exist I guess..

A little of this and a little of that- some of myself, some record of things I find interesting and helpful too.

Thursday, February 19, 2015

Built in spice rack: part 2

So far I've got the mural done, pretty much. We still need to do butterflies and the little add ins but those come after the shelf goes in for placement's sake.. 

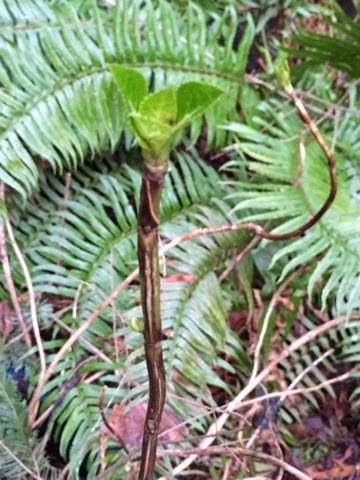
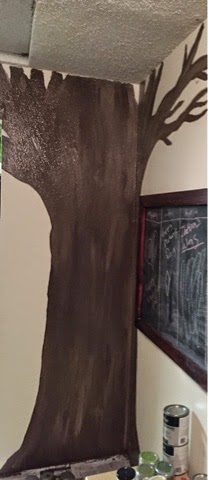
Just the base trunk:


Wrap around top branches with leaves:


Whole tree (and one green butterfly lol)


It surprises me, really, how much use I get out of those sample sizes of paint. This is at least thre or four projects now just picking up a couple here and there.

And I'm thrilled that my kids got interested in this- they helped with the painting and are helping with the rack construction/staining too. 

We figure, in our house, everybody gets to help out a bit so they learn how. That way my kids know HOW to do basics for themselves when they leave the nest.  Or they know just how to figure out where to find the answers to get it accomplished. 

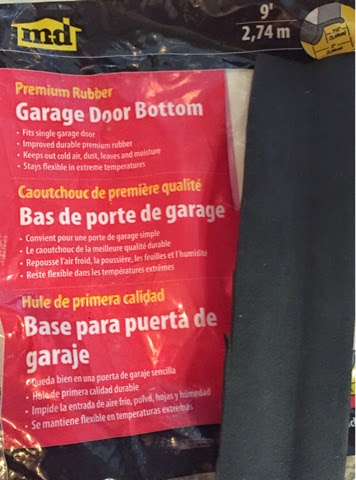
Anywhoo, I've started with the staining process too.. Top to bottom it goes: (top) one coat stain + pre-stain, (middle) just pre-stain, and (bottom) untreated. 


Spring is sprung in the pacific northwest...

So far everything is really popping out and it's only the third week in February. 


Hydrangeas already!!


Saturday, February 14, 2015

Built In Spice Rack.. Part 1

I've conf to the conclusion I might have a small obsession with spices/herbs. 

This is my current rack:


And even at almost 5' it's just not big enough. Crazy, right? Not so much. So since I CAN do it now I am going to do it- a built in, bigger spice rack, like I've always dreamed about. I'm painting a mural behind it so it looks like the rack is part if the trunk of a tree.. 

In theory this is how it will go: 


It's got a couple anchoring shelves that are stationary for support but everything else is on a peg system and adjustable. The bottom space is taller for oils, etc.  I think it's going to look pretty cool, but we'll see. I've got the schematics figured, measurements drawn out and Maths double and triple checked. I've got the paint and stain and wood.. Now just to get it all put together. So many projects, so little time!

Patio door draft project


Patio door draft project:

So we installed a patio panel pet door (read as cat all the time, dog when it not wet door lol) that has been brilliant. Except! There is a lovely draft of seasonal air tha comes in between the sliderer and stationary door.. Now I like to use my slider year round and I was trying to find a way to get around this draft- it's killing  the heating bill. Eventually I'd like to put in French doors and install a pet door in the wall, since we have space that would be perfect, but I have tons of projects higher up on the list. Soo..

I'm going to add a strip of rubber on the back end of the slider to bridge the gap, and then screw a piece of vinyl strip on top of it to hs it in place. Y Voila! I think it's a great idea- minimal screws used, stops the draft, vinyl matches the door, $15 bucks investment saves me energy and painkillers too (less whining about how cold the house mid level is means fewer headaches for me!) 

Really the hardest part of this was figuring out how to get the parts- the guys at Lowes were old stinkers and saw girl trying to solve a problem outside the box, because they didn't have a standard  part for it and pretty much passed me around to the next guy telling me there wasn't a solution and I wasn't going to be able to do what I wanted. Idiots. There is ALWAYS a solution to EVERY problem even if it's not pretty or convenient. I wound up sticking with the solution they told me was silly and would neeeever work. You would think simply asking for a flat strip of rubber 7 feet long would be less difficult but I guess not. I figured it out though ;) 

But I digress. 

My gap before:

I'm using garage door rubber seal so when I slide the door open and close its not an issue ( only a couple times a week, not a big deal). 


And then to cap it on the end I found  a length of vinyl strip- super easy to work with. I scored and cut it with a heavy duty exacto knife.